Previouse article
The best Serum presets & preset packs in 2024 (for music producers)
January 15, 2024
This is the my personal Top-5 of Xfer Serum Presets…
Read more


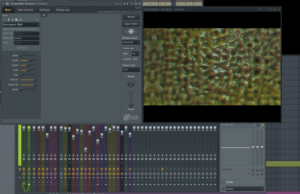
If you’re a beginner looking to get started with music production, you’ve probably come across FL Studio. It’s one of the most popular digital audio workstations (DAWs) on the market and has been used by artists like Avicii, Martin Garrix, and Deadmau5. In this ultimate guide to FL Studio for beginners, we’ll go over everything you need to know to get started with this powerful music-making software.
FL Studio, formerly known as FruityLoops, is a digital audio workstation that allows users to create, record, mix, and master music. It was first released in 1997 by Image-Line and has since become one of the most widely used DAWs in the world. The software is known for its intuitive interface, advanced features, and powerful plugins.
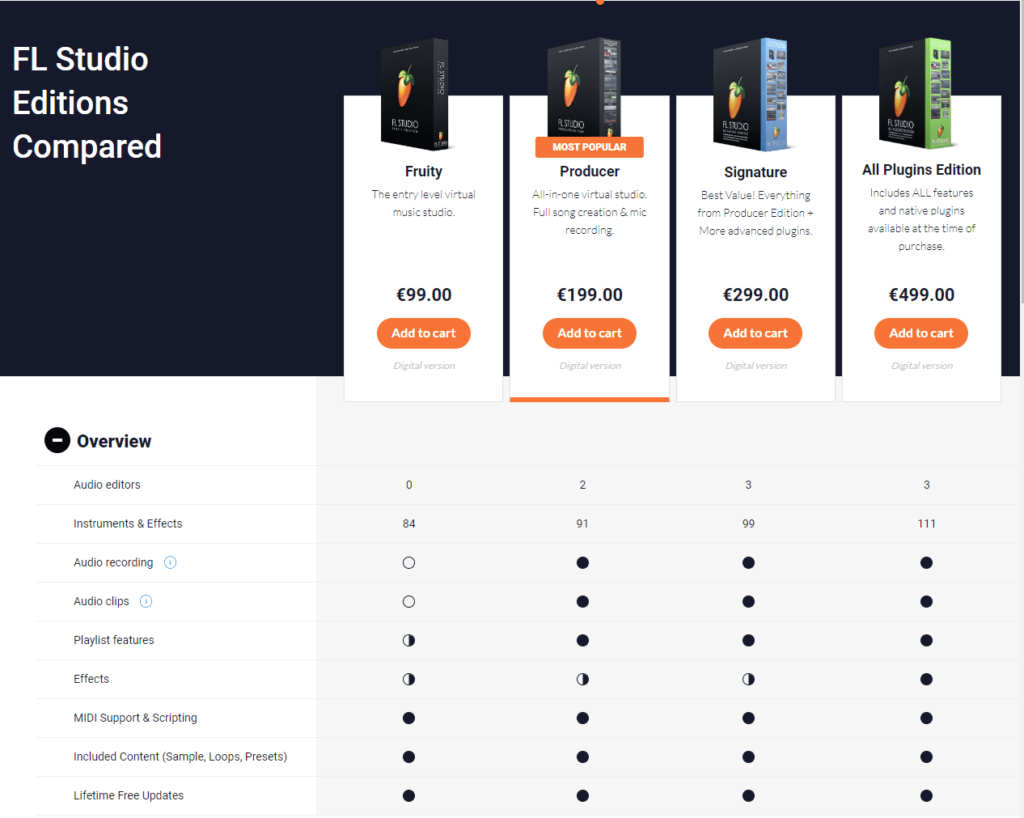
FL Studio is available in four different editions: Fruity, Producer, Signature, and All Plugins Bundle. The Fruity edition is the cheapest and is best for beginners, while the All Plugins Bundle is the most expensive and includes all of the available plugins. Here are the prices for each edition:
You can find all the pricing info here – Click Here
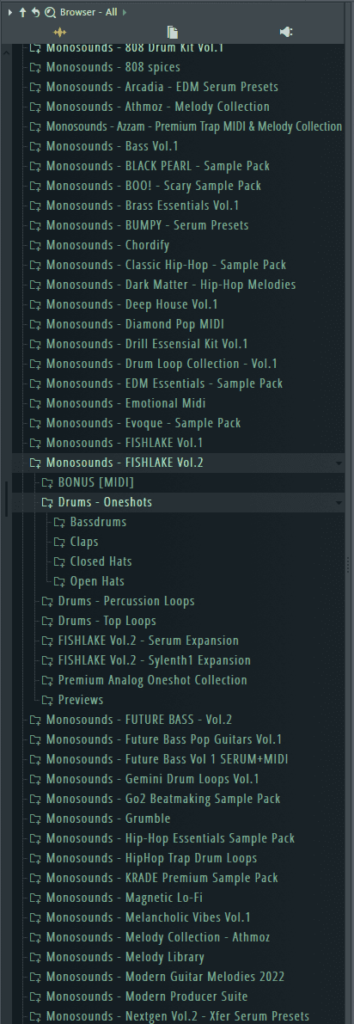
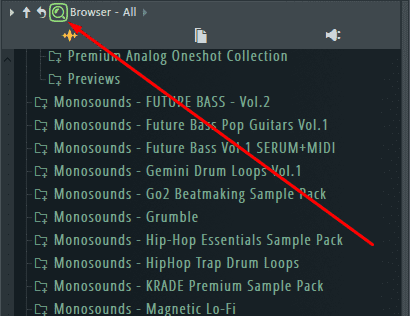
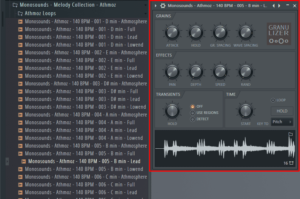
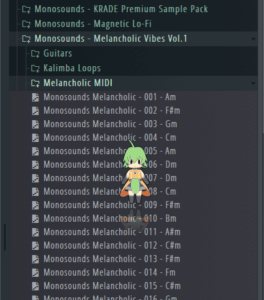
In case you still don’t have premium quality samples, melodies & loops for FL Studio 21 that’s the best time to check and grab some of them – click here…
Let’s talk a deeper look at them.
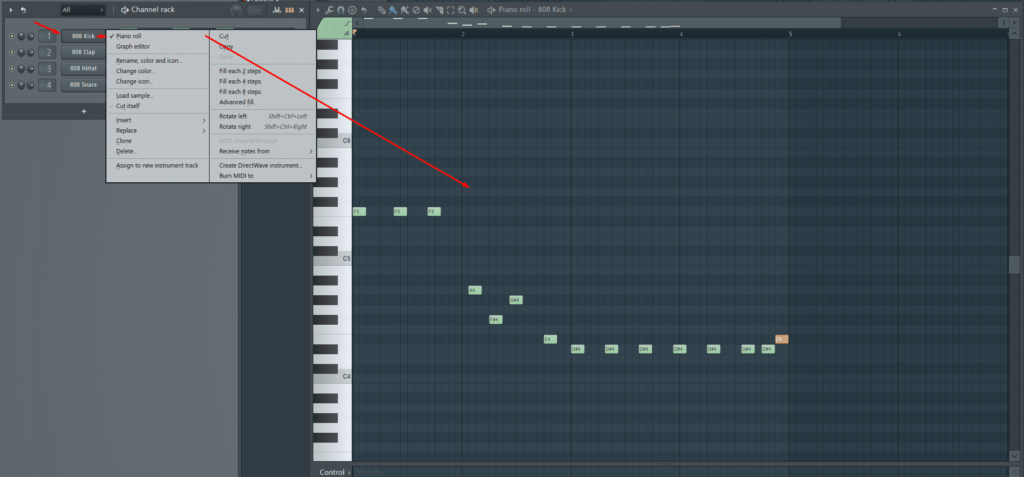
The Piano Roll is a powerful tool for editing your patterns in the Step Sequencer. It allows you to add and remove notes, adjust the length of notes, and change the velocity and pitch of individual notes.
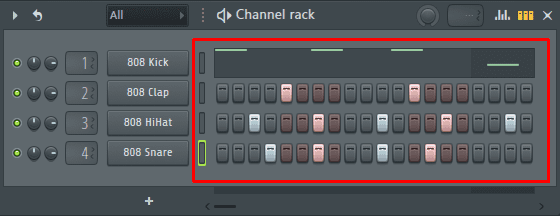
The Step Editor is a feature in the Piano Roll that allows you to edit your patterns using a grid-based interface. It’s especially useful for creating repetitive patterns and can save you a lot of time compared to manually entering each note.
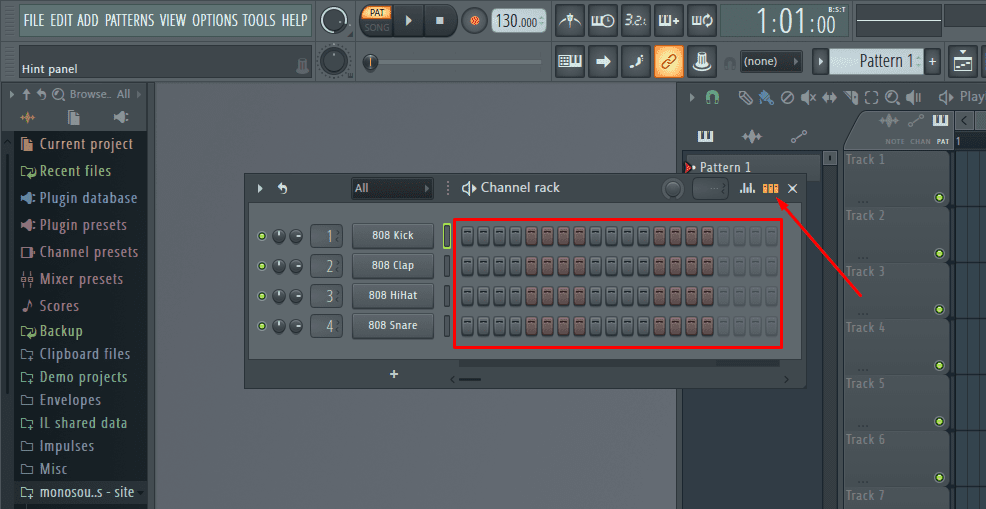
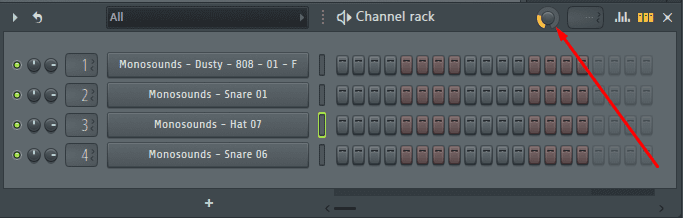
The Channel Rack is where you manage your instruments and plugins in the Step Sequencer. Spend some time organizing your sounds and creating custom presets, so you can quickly access the sounds you need for your projects.
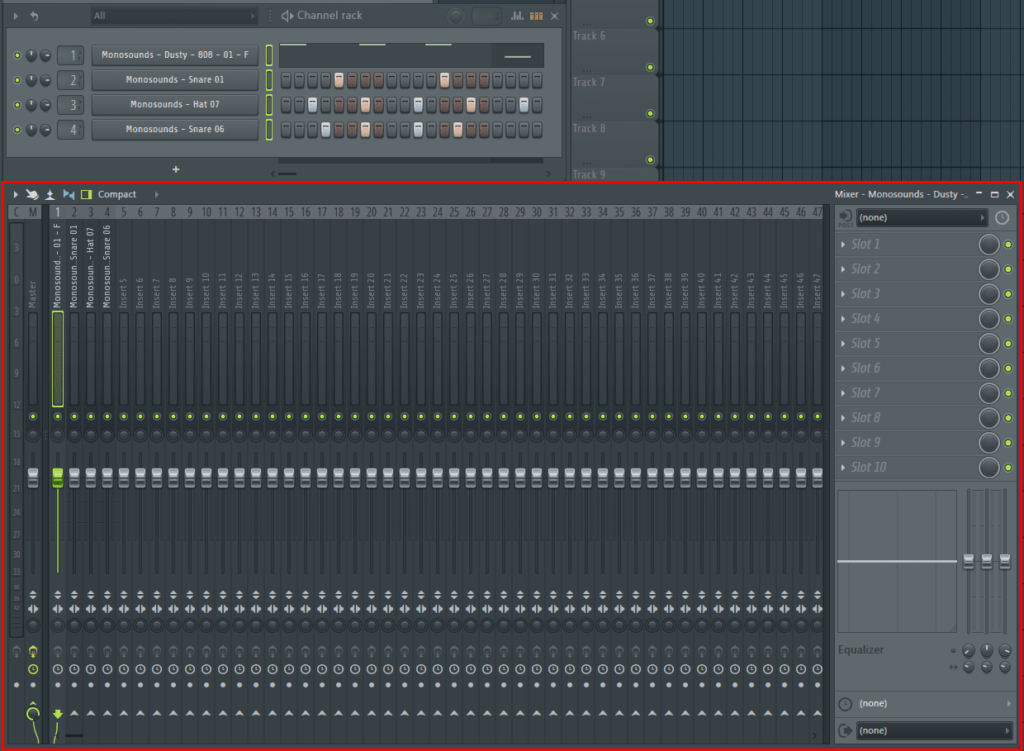
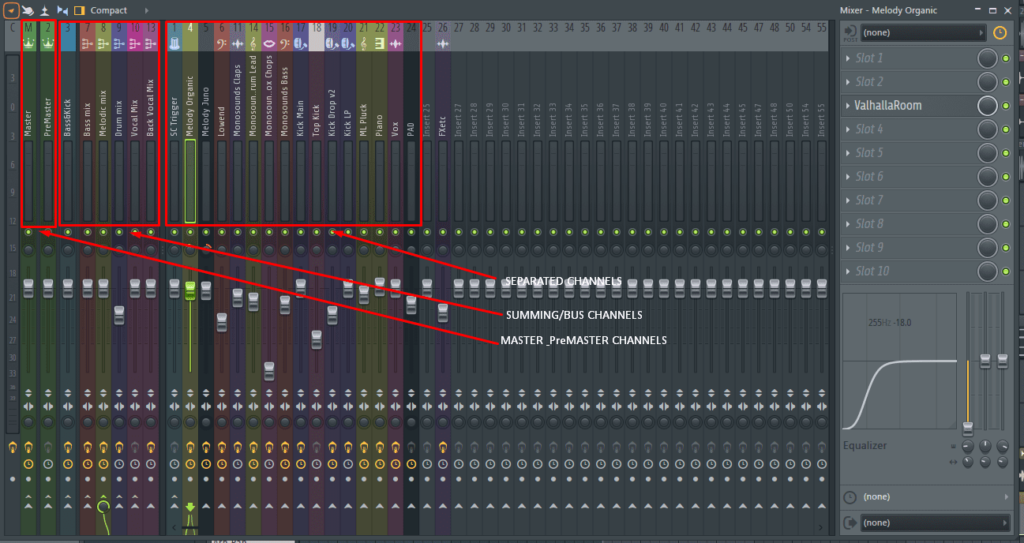
The Mixer is where you control the volume, panning, and effects of your tracks in the Step Sequencer. Spend some time learning how to add effects, create sends, and use the EQ and compressor to shape your sounds. (Hotkey to activate the Mixer – F9)
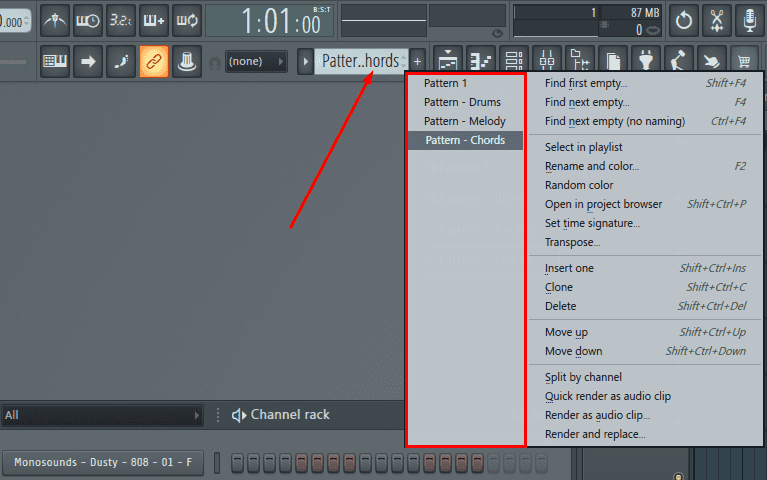
The Pattern Selector allows you to quickly switch between different patterns in the Step Sequencer. Spend some time organizing your patterns and creating custom names, so you can easily find the pattern you need for your project.

The Snap Function allows you to snap your notes to a specific grid size, making it easier to create precise patterns. You can adjust the snap size by right-clicking on the Snap button in the toolbar.
Keyboard shortcuts can help you work more efficiently in the Step Sequencer. For example, pressing Ctrl + C and Ctrl + V will copy and paste your selected notes, respectively.
Automation allows you to create dynamic changes in your patterns over time. Spend some time learning how to create automation clips for parameters like volume, panning, and filter cutoff, and experiment with different shapes and curves.
Swing is a feature in the Step Sequencer that adds a rhythmic feel to your patterns. It can be especially useful for creating hip-hop and electronic beats. Spend some time experimenting with different swing settings to find the right feel for your project.
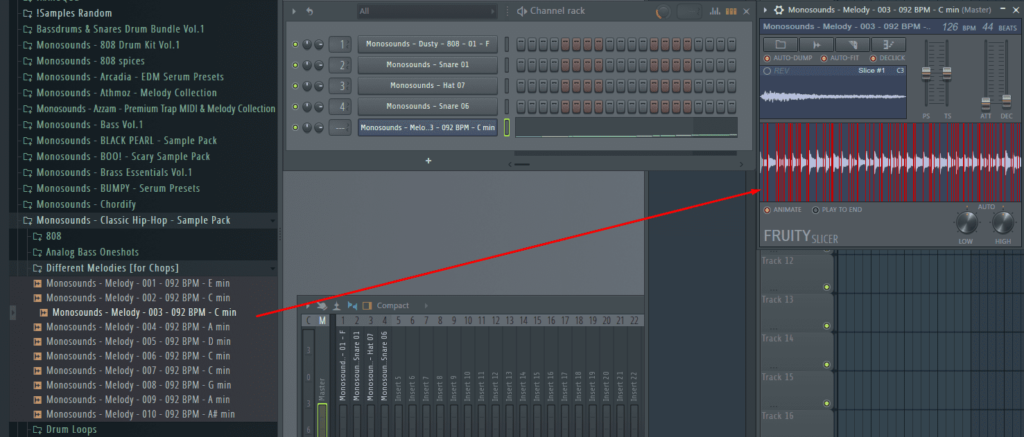
The Fruity Slicer is a plugin in FL Studio that allows you to chop up samples and create new patterns. Spend some time learning how to use the Fruity Slicer, and experiment with different slicing modes and settings.
These are just a few tips for using the FL Studio Step Sequencer. With practice and experimentation, you’ll discover new techniques and workflows that work best for you.
Sample Packs, Synth Presets for any genre – click here...
While FL Studio is a great choice for beginners, it’s not the only DAW on the market. Here are some other popular alternatives:
There are a few reasons why FL Studio is so popular among music producers:
Now that you know what FL Studio is, its features, pricing, and alternatives, let’s dive into getting started with the software.
The first step is to download and install FL Studio. You can do this by visiting the official Image-Line website and selecting the edition you want to purchase. Once you’ve completed the purchase, you’ll be able to download the software and install it on your computer.
After installing FL Studio, the next step is to set up your audio devices. This involves selecting the input and output devices that you want to use for recording and playback. You can do this by going to the Options menu and selecting Audio Settings. From there, you can select your audio device and configure the settings as needed.
FL Studio’s interface can be intimidating at first, but it’s designed to be user-friendly and easy to navigate. Spend some time exploring the different menus and settings, and familiarize yourself with the layout of the software. You can also watch tutorials on YouTube or read the official FL Studio manual to learn more about the interface.
Before you start creating music in FL Studio, it’s important to understand the basics of music production. This includes things like music theory, arrangement, and mixing. There are plenty of resources available online to help you learn these skills, including YouTube tutorials and online courses.
Once you’re comfortable with the basics of music production and FL Studio’s interface, it’s time to start creating music. Start by experimenting with different sounds and plugins, and try to come up with a basic melody or chord progression. You can then build on this by adding drums, bass, and other elements to create a full song.
Collaborating with other producers is a great way to learn new skills and get feedback on your music. There are plenty of online communities and forums dedicated to FL Studio and music production, where you can connect with other producers and share your work.
Sample Packs, Synth Presets for any genre – click here...

So what is the main things to tune for beginners?
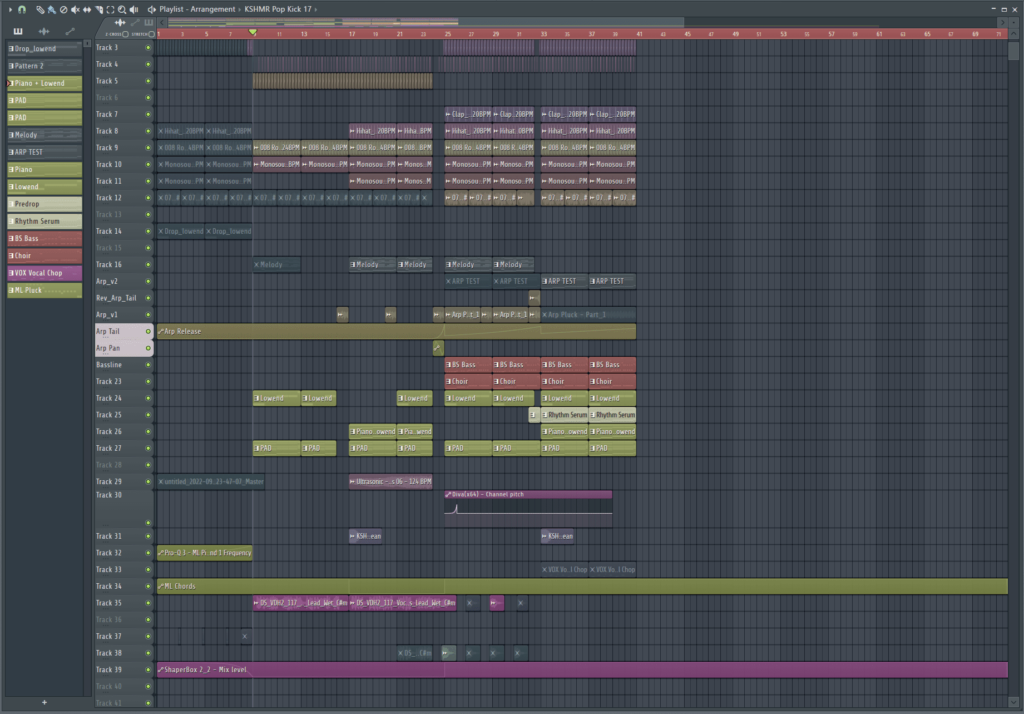
Composing your first song in the FL Studio Playlist can be a fun and rewarding experience. Here are some steps to get you started:
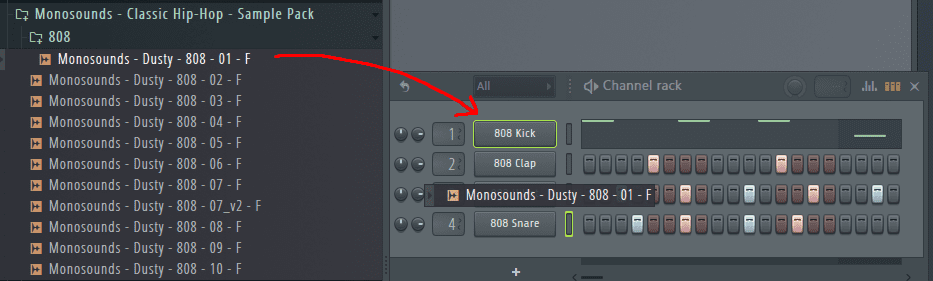
The first step in composing your first song is to choose the instruments and sounds you want to use. You can do this by opening the Channel Rack and selecting your plugins and samples. Spend some time experimenting with different sounds, and try to find a combination that works well together.
Once you have your sounds selected, it’s time to create your patterns. Open the Step Sequencer and start programming your beats and melodies. You can use the Piano Roll to edit your patterns, and you can use the Pattern Selector to switch between different patterns.
Attention – Use only well produced samples & melodies – click here to download for free
Once you have your patterns created, it’s time to arrange them into a song. Open the Playlist and drag your patterns onto the timeline. You can use the Pencil Tool to draw in automation and add effects to your tracks.
To make your song more interesting, try adding transitions between your different sections. This can include drum fills, filter sweeps, and other effects. You can use automation to create these transitions, or you can use pre-made samples and loops.
Once you have your song arranged, it’s time to mix and master it. Use the Mixer to adjust the volume and panning of your tracks, and add effects like EQ and compression to shape your sounds. You can also use mastering plugins to give your song a polished and professional sound.
Remember, composing your first song in FL Studio is a learning experience, and it may take some time to get the results you want. Don’t be afraid to experiment and try new things, and always keep learning and growing as a musician.
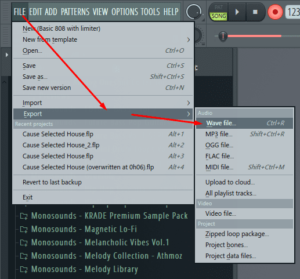
Exporting your song from FL Studio can be an exciting moment, but it’s important to make sure you’ve checked everything before hitting the export button.
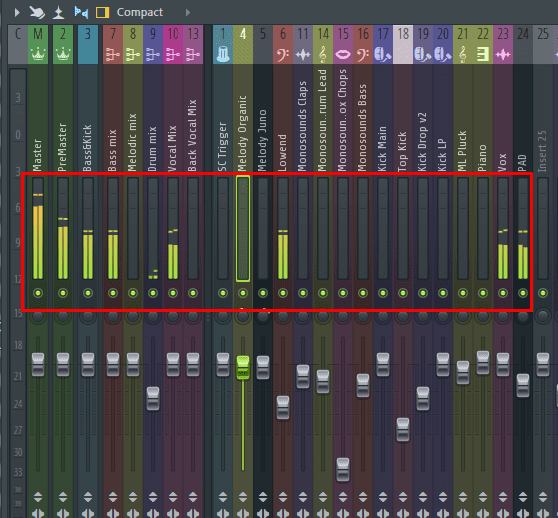
Make sure your tracks aren’t clipping and that the overall level of your mix is appropriate. You can use the Mixer to adjust the volume and panning of your tracks.
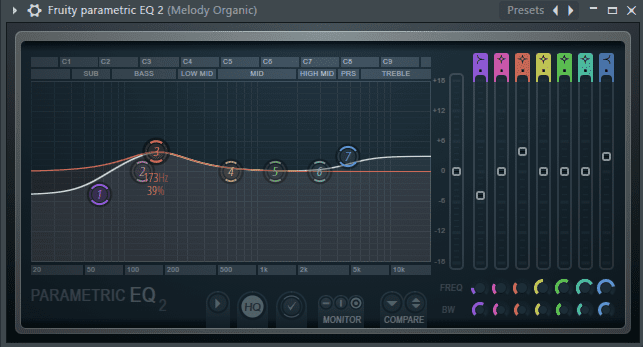
Make sure your tracks are properly EQ’d and that there aren’t any frequencies that are clashing or causing problems in the mix. Use EQ plugins to shape your sounds and clean up any issues.
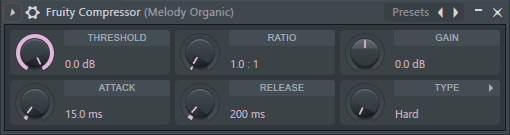
Make sure you’re using compression appropriately on your tracks, and that you’re not over-compressing or under-compressing. Use compression to control the dynamic range of your sounds and create a more consistent mix.
Make sure your reverb and delay settings are appropriate for your mix. Too much reverb or delay can make your mix sound muddy or washed out, while too little can make it sound dry and lifeless.
Make sure you’re using the stereo field effectively in your mix, and that your sounds aren’t all panned hard left or right. Use stereo imaging plugins to widen your sounds and create a more spacious mix.
Make sure all of your tracks are properly timed and that there aren’t any timing issues or discrepancies between tracks. Use the Quantize feature in the Piano Roll to snap your notes to the grid and create a more precise performance.
Make sure your transitions between sections are smooth and well-executed. Use automation to create buildups and breakdowns, and make sure your transitions flow naturally.
Make sure your arrangement is logical and makes sense. Your song should have a clear structure and progression, with each section building on the previous one.
Make sure your mastering is appropriate for your mix. Use mastering plugins to add EQ, compression, and limiting to your mix, and make sure your levels are appropriate for streaming and distribution.
Finally, make sure you’re exporting your song in the appropriate file format. For most purposes, exporting to WAV or MP3 will suffice, but there may be other formats required for specific platforms or uses.
By checking these 10 points before exporting your song from FL Studio, you can ensure that your mix is polished, professional, and ready to be shared with the world.
For all the producers who read all the info here are top-10 secret features in FL Studio:
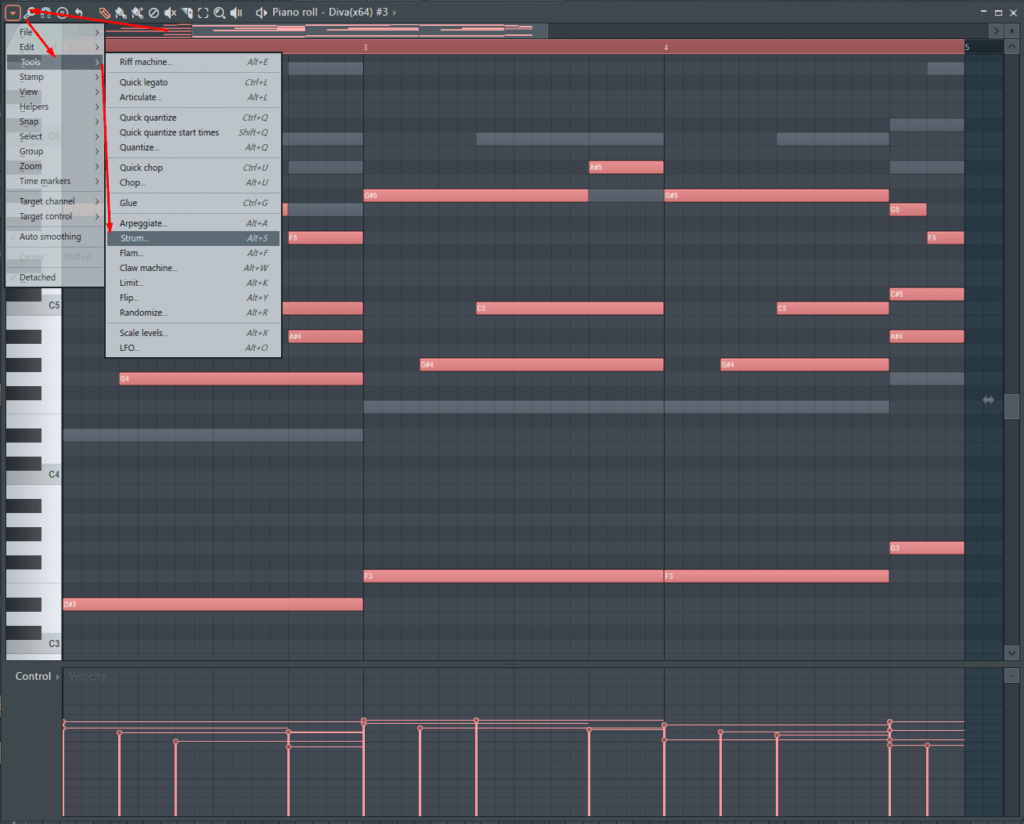
In the Piano Roll, you can select notes and then use the strumming tool to create realistic strumming patterns for guitars or other stringed instruments.
FL Studio’s automation system is incredibly powerful. You can automate almost any parameter in the software, and you can use complex automation clips to create complex and evolving soundscapes.
If you’re a pc power user, you might want to create your own MIDI scripts to automate repetitive tasks or create custom workflows. FL Studio supports custom MIDI scripts written in Python.
FL Studio allows you to customize the interface to your liking. You can resize or hide various panels, create your own custom layouts, and even assign custom keyboard shortcuts to any function in the software.
You can import and export video files in FL Studio, which can be handy if you’re creating music for film or video games.
The Granulizer is a powerful tool for manipulating audio. It allows you to break down audio into small grains and then manipulate each grain individually to create complex textures and effects.
Patcher is a modular effects plugin that allows you to chain together multiple effects and instruments in a single interface. You can create custom signal chains and even build your own virtual instruments using Patcher.
Fruity Dance is a plugin that allows you to create complex rhythmic patterns using a simple interface. You can use it to create glitch effects, stuttering patterns, or even to generate random rhythms.
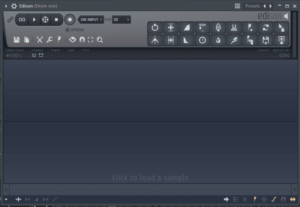
Edison is a powerful audio editor that is built into FL Studio. You can use it to record, edit, and manipulate audio files, and you can even use it to extract audio from video files.
ZGameEditor is a visualizer plugin that allows you to create stunning visualizations that are synchronized to your music. You can create custom 3D animations, use built-in effects, and even use your own images and videos to create unique visualizations.
In conclusion FL Studio is a powerful and accessible DAW that is perfect for beginners and professionals alike. With its user-friendly interface, extensive set of features, and affordable pricing, it’s no wonder that it’s one of the most popular DAWs on the market. By following the steps outlined in this guide, you’ll be able to get started with FL Studio and start creating your own music in no time.
Visit Image Line Website and start making music today!
Visit monosounds.studio – and grab all the best samples, serum presets & MIDIs for FL Studio
This is the my personal Top-5 of Xfer Serum Presets…
Welcome to the ultimate guide on how to use Xfer…

Hip hop music has been one of the most popular…

Greetings fellow sound engineers and music creators, and welcome to…